Learn Git and host your projects for free on GitHub
A beginners' guide to using git and getting free hosting services on GitHub

Git is an essential tool for every developer to learn. It is an easy-to-use and popular version control system that tracks and records changes you made on your projects.
It also keeps copies of code allowing you to revise your code whenever you want. Git is compatible with a majority of operating systems, that's why it's popular in software project management.
In this article, I take a beginner-friendly approach on getting started with git and using free hosting services on GitHub. In this article you will learn the about;
- Git Installation
- Command Line options
- Text editors
What is Git?
Git is a version control and source code management software that enables users to track changes on their projects in real-time and save copies of their code online.
Git has several online clients including Github, Source tree, and Smart Git just to name a few. Out of all these GitHub is the most widely used. GitHub offers free Internet hosting for software development and version control for Git.
GitHub is a popular Git client which has collaborative features that enable users to push, review, merge and host their projects online. You are able to transfer copies of code from Git to your local machine and save them online.
Get started on Git using the following steps;
1. Install Git on your Computer
Installing Git on your computer enables you to connect to your online GitHub repository. This allows you to save copies of code online and host live projects.
Before we proceed, you need to install Git using the GitHub guide Git Install commands depending on your operating system.
2. Create a GitHub Account
You can skip this step if you already have a Github account. Sign-up a GitHub account on GitHub and create a repository using the following steps;
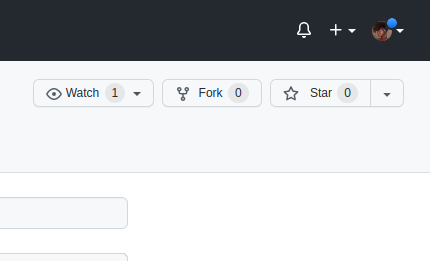
1. Go to the repositories section and click on the + sign
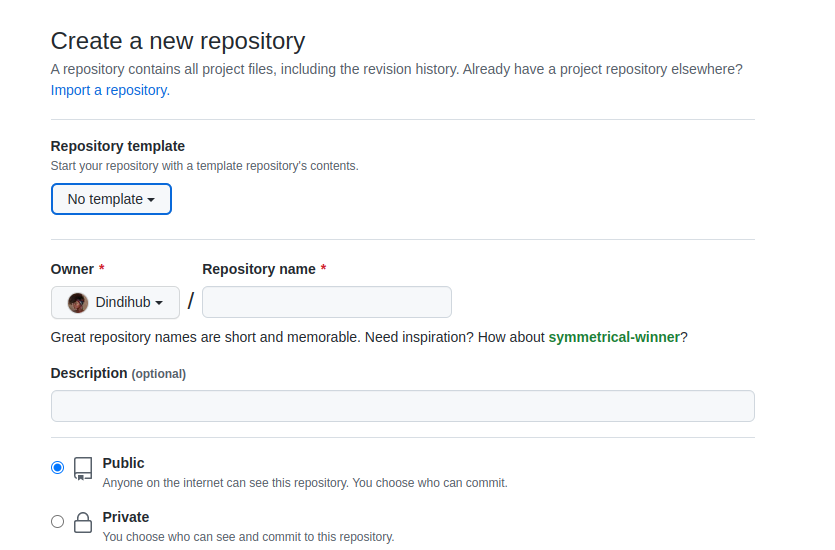
2. Create a repository named after your project.
Choose the public option, unless you want a private one that is not visible to others.
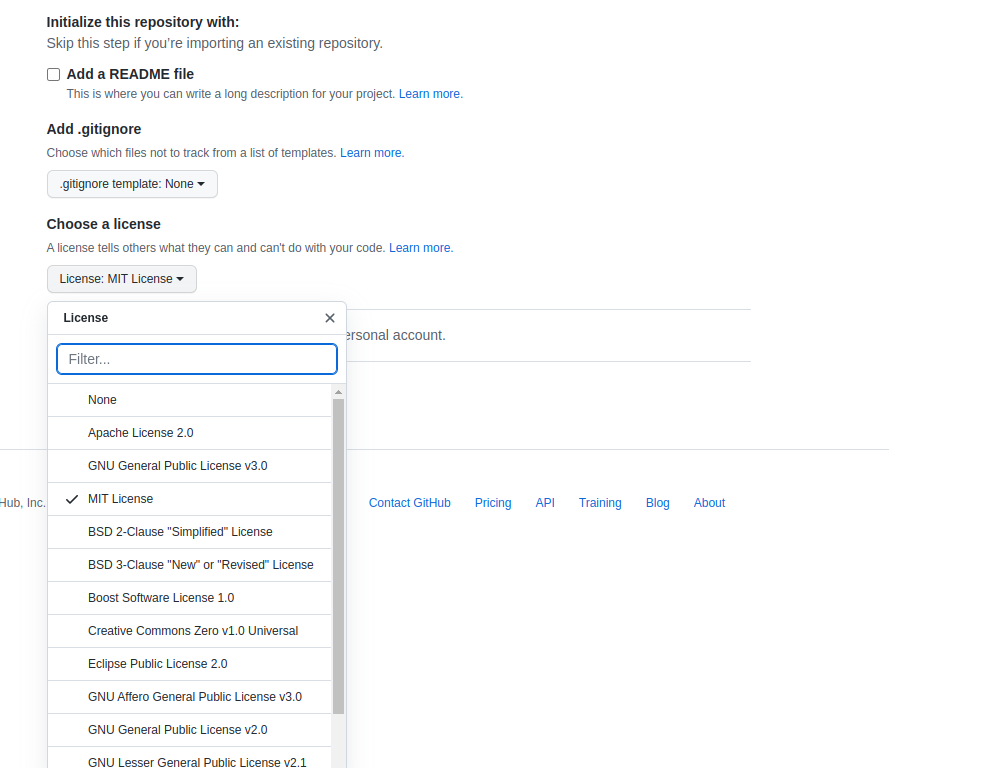
3. Choose a License preferably the MIT one to make your code open-source and a README.md to start with.
You can update the README later on with your project details
Now, you are ready to go! Apart from the README and License, you will notice that your Github repository is empty. In the next section, you will learn how to populate it with your project.
3. Push your project to GitHub
Ready to host? Initialize Git on your project directory when ready to push your projects to GitHub. We are going to use the command line (terminal) to push code to GitHub. There are extensions such as Git lens on text editors like Visual Studio Code that will automatically do it for you. However, in this article, we will use the command line. Use these steps;
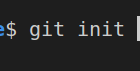
Step 1: Run the git init command The $ git init will initialize Git in your project directory. It will look like this;
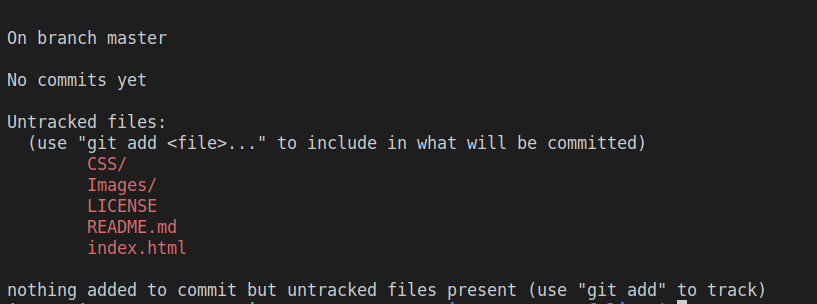
Step 2: Run the git status command
The $ git status command will show us a list of files to be added and staged for deployment to GitHub
Step 3:Run the git add $ git add [name of file] or $ git add . or $ git add -a (adds all files at once) Like this;
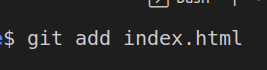
Stage files using this command on Git to get ready for deployment. For example, if you have an index.html file and style.css and want to add them separately use the first command else use the latter. Use $ git status to ensure all your files are added. They will be green in color if added and red if not.
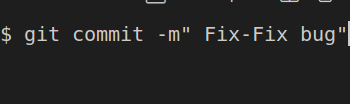
Step 4: Run git commit
$ git commit -m “ Files-Add index.html file”
This command allows you to note changes made on files for future reference. There are various naming conventions that you can use for your projects. Here are some references.
Like this;
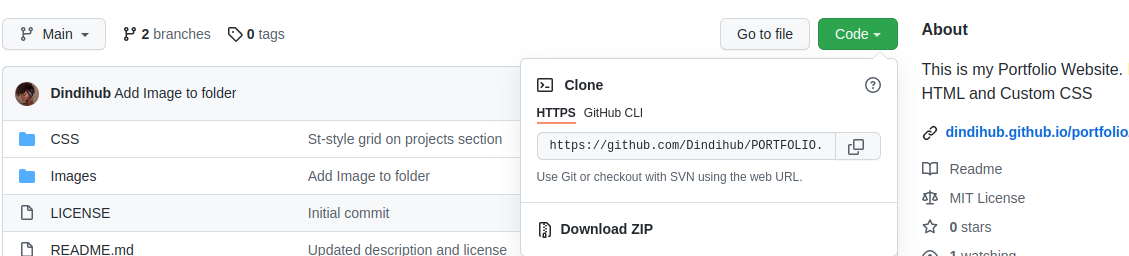
Step 5: Run git remote add origin [url of remote branch] $ git remote add origin [remote GitHub account link] This command connects your local Git to your GitHub repository. Get the link on your GitHub repository on the code section highlighted in green as illustrated below.
Like this;

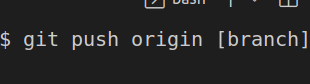
Step 6: Run git push origin [name of branch] $ git push origin ……….. (name of the main branch ) The name of your branch is visible on your text- editor. For VS code it will be on the bottom left corner. It will either be master or main.
 This will be your main branch on the Github repository. You can also push to other branches named to your liking.
A successful push will look like this:
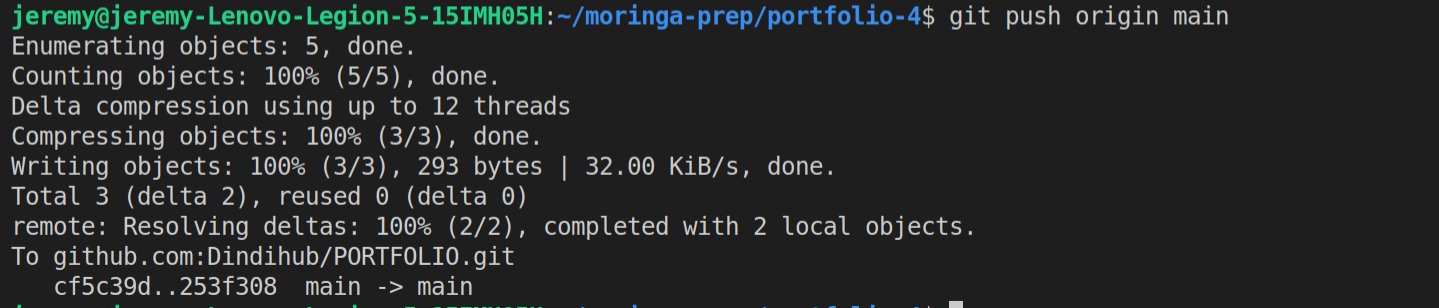
Once pushed successfully to GitHub, You can see your files as in the diagram above. Now head over to your GitHub repository, and now you’ll see all files and changes from your machine on GitHub! Congratulations on making it this far!
Next, you’ll be creating a GH page for this repository so that the repository can be accessed by anyone via a URL
4. Create the-pages
GH-Pages which stands for GitHub pages- also written in lower case as gh-pages, stands for GitHub pages.
You have to create a git hub pages branch on your local git, merge it with the main branch and push to create a gh-pages on Github. You can also opt to create a gh-pages branch directly on Github and merge it with your main branch to push your site like this method 2.
In this tutorial, you will do it on the terminal. Use the following commands to set up gh-pages; Step 1: Run git branch gh-pages to create gh-pages on your local repository

Step 2: Run git checkout gh-pages command to transfer data from the main branch to gh-pages branch.
Step 3: Run git push origin gh-pages command to push data from the local gh-pages branch to the Github gh-pages branch to enable deployment.
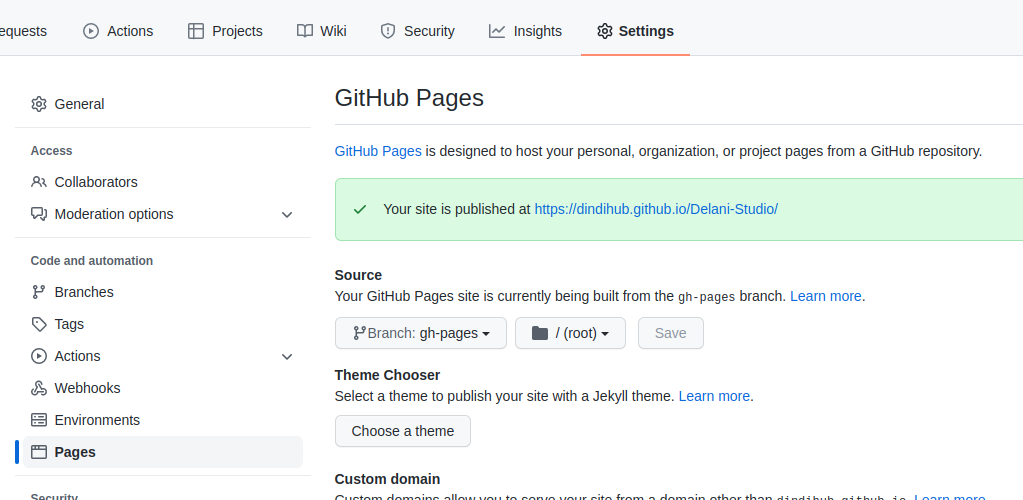
Step 4:Once on GitHub, go live by following these steps;
- Click on the Settings tab at the top of your page.
- Click on pages on the list on the left
- Click on the link highlighted in green on gh-pages to view your live site
Make the project link easily accessible on your repository by adding it to the About section using the following steps;
- Copy the live link on gh-pages
- Go back to your repository main page and click on the About session.
- Paste in the URL session and save.
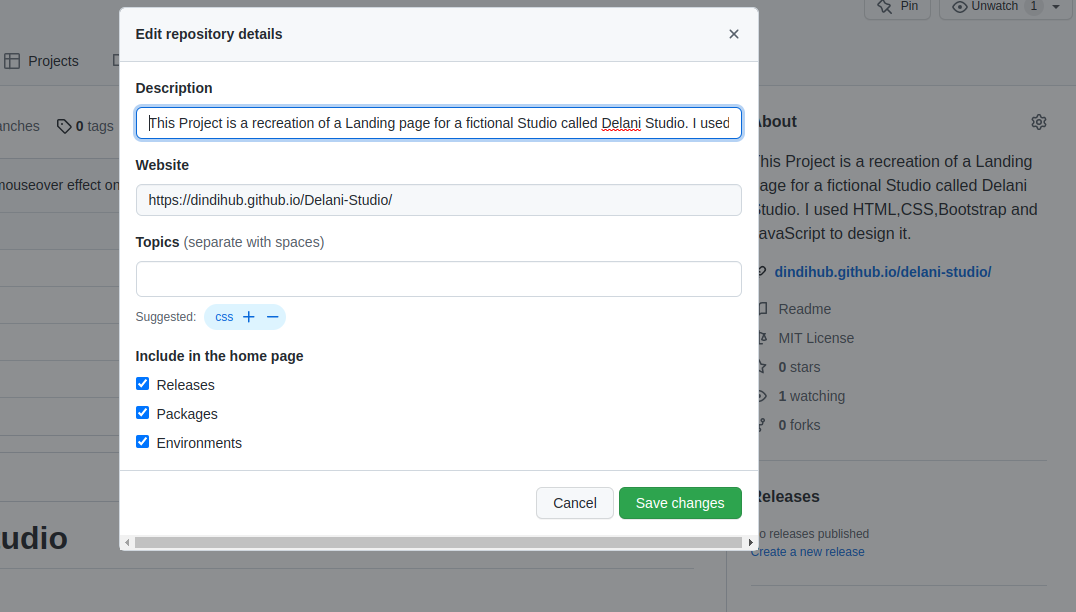
You are now live on GitHub!
Conclusion
You have just learned how to get started with Git and GitHub to host your code and live projects. Follow the above-named steps to stage, commit and push your projects to GitHub. Your projects will now be accessible to anyone you share the link with. Others can now see your live projects, code, and collaborate with you on future projects.