Learn Multi-container Deployment With Docker Compose
Deploy multiple containers using Docker Compose
Deploying containers is an essential part of Docker. Especially when working with microservices, you must know how to manage and run multiple containers simultaneously.
You may want to separate the two functionalities if you have an application with a front and back end. It's better to place each microservice in its own Docker container.
For your application to function, the two containers have to communicate. That's where Docker Compose comes in.
Let's learn practically how to use Docker Compose to manage multiple containers in an application.
What is Docker Compose?
Docker Compose is a tool used to manage the deployment of multiple Docker containers. In Compose, each container runs in isolation but interacts with others.
With Docker Compose, you can run an entire application stack by defining its volumes, services, and networks in a single YAML file.
You use a scripting language called YAML, an XML-based language, to write the manifest. With YAML, you can run several services using only one command.
Let's learn how to create a manifest by creating and running multiple -containers using Docker Compose.
Getting Started With Docker Compose
You will build an application with two microservices, a front, and a backend. Then, use Docker Compose to connect the containers and run the application.
Prerequisites
To create this project successfully, you will need the following:
Familiarity with Docker containers
Familiarity with APIs
1. Create an Application
Create an application with two or more microservices. I created a Flask app with two microservices, a front end, and a back end. If you don't want to create an app from scratch, fork this Flask application to get started.
2. Build Docker Images for Each Microservice
Use Dockerfiles to create Images for each microservice. Use the following command:
touch quote_disp/Dockerfile
touch quote_gen/Dockerfile
The quote_disp folder is the front end, and the qoute_gen hosts the app's backend.
In the Dockerfiles, define the commands needed to build your application. The application file structure should include the new Docker files.

In the Dockerfiles, add instructions to build and run the application in Docker containers. For my Flask App, it appears like this:
FROM python:3.8-slim-buster
COPY . /app
WORKDIR /app
RUN pip install -r requirements.txt
ENTRYPOINT [ "python" ]
CMD [ "app.py" ]
Then, build the images using the following commands:
docker build -t quote-gen-service ./quote_gen
docker build -t quote-disp-service ./quote_disp
To ensure that the image generation was successful, run docker images on the terminal.
REPOSITORY         TAG     IMAGE ID      CREATED        SIZE
quote-disp-service latest  722afb63f26a  3 minutes ago  131MB
quote-gen-service  latest  8ec101e0751f  3 minutes ago  131MB
3. Run the Docker Containers
Now that you have the images, run the Images to get the containers running. Use docker run [OPTIONS] IMAGE [COMMAND] [ARG...] to run the containers.
docker run -d --name quote-gen-container -p 5000:5000 quote-gen-service
docker run -d --name quote-disp-container -p 5001:5001 quote-disp-service
The above code -d represents the detached mode, which means you run the containers in the background. Next --name is the container, and -p is the port number exposing the container.
The port number has the syntax Host port:container port.
Ports are not infinite. They are represented as 16-bit unsigned integers which means they go up to 65535. In general, just use any value between 1024-65535, values below 1023 are referred to as system ports and are used by other applications.
Run docker ps to view the running containers.

Click on the following prompt to view the application on the browser.
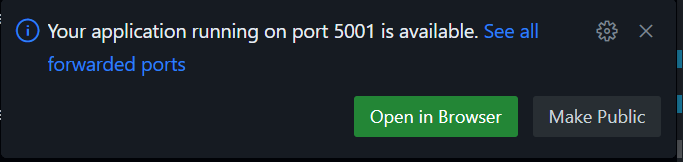
It appears as follows:

Check to ensure both front and backend containers are running successfully.
Did you notice that you cannot access the other application when you click the link on the front end? This is because the containers cannot communicate. To help them communicate, we have to create a network using Docker Compose.
First, stop and remove all running containers with the following commands:
docker stop $(docker ps -a -q)

docker rm $(docker ps -a -q)
4. Create Docker Compose Manifest
Docker Compose makes it easier to manage multiple containers. Compose creates the necessary networks and connectivity between containers defined in the manifest file. Let's create a Docker Compose manifest to orchestrate our services.
In the root folder, create a docker-compose.yml file and add the following information:
version: "3.7"
services:
    web1:
        build: ./quote_gen
        ports:
            - "5000:5000"
    web2:
        build: ./quote_disp
        ports:
            - "5001:5001"
        depends_on:
            - web1
In the above manifest version refers to the Docker Compose version you are using. Services refer to the networks you are creating. In this case, you are using the web service names web1 and web2 instead of a container name.
Using the service name allows Docker Compose to handle load balancing between multiple replicas of the same container during scaling. Both services will communicate under the ports 5000:5000 and 5001:5001 . Web 2 service depends on the web1 service.
Build refers to the container image used to build the containers during deployment.
5. Run Docker Compose
Run the following command to start Docker Compose:
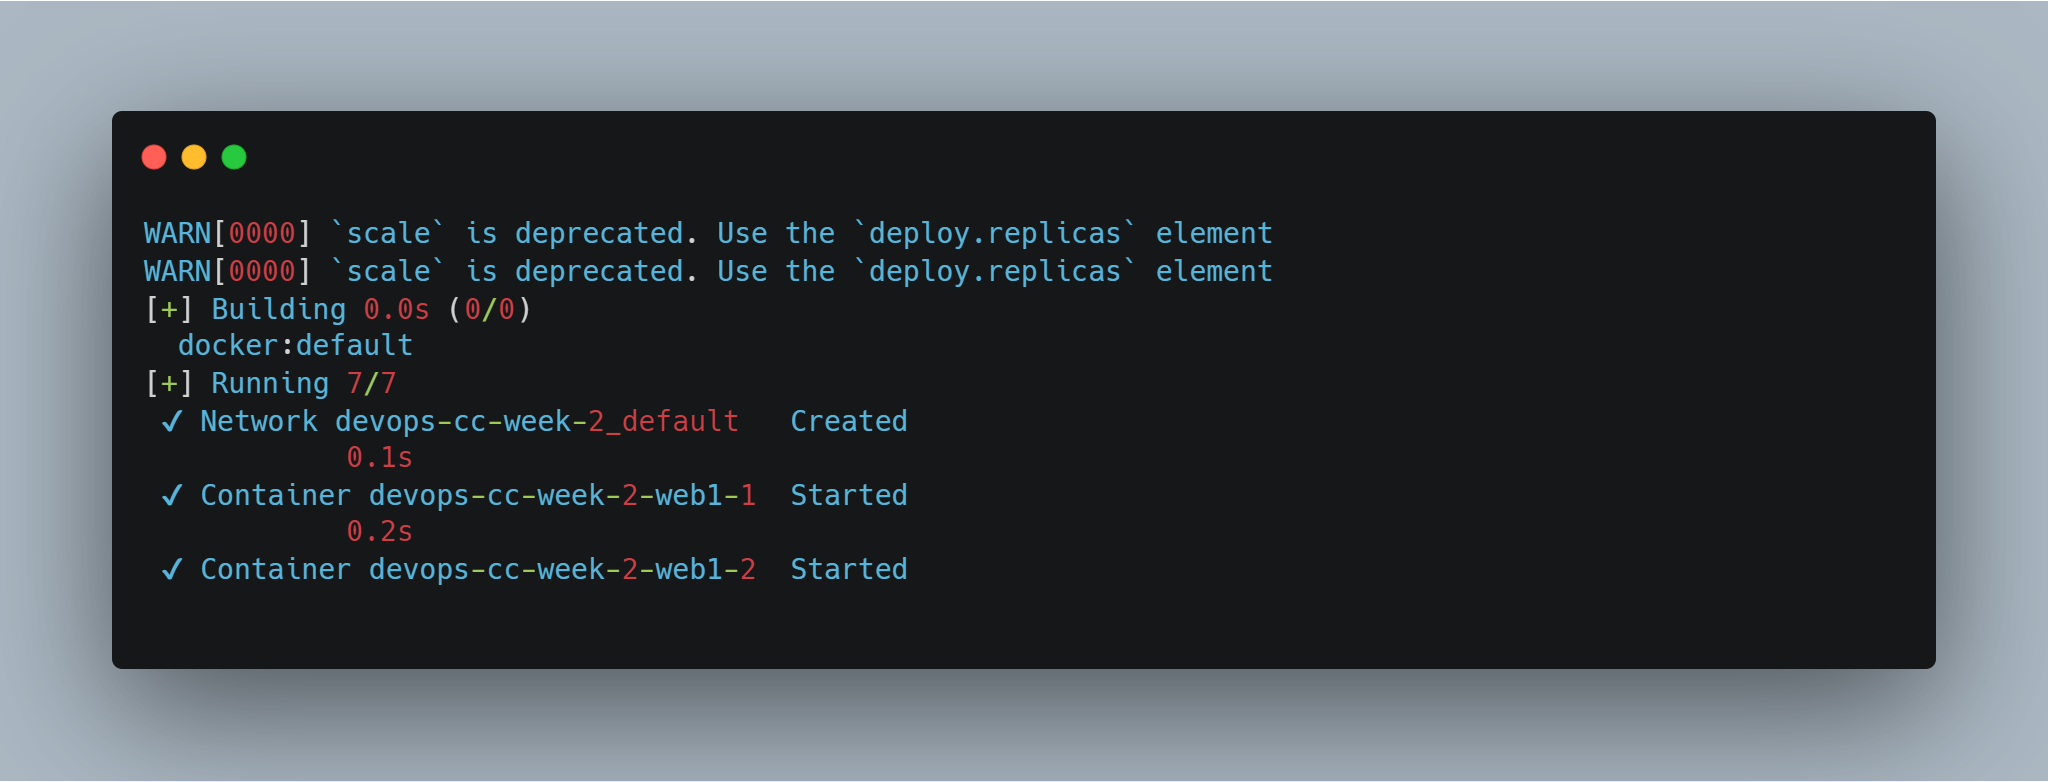
docker compose up -d
The result is the network being created as Docker Compose spins up the containers.
Next, navigate to the ports area on the terminal and click the network part to see the applications on the browser.

Notice that you can now access the application's backend via the link on the front end. Docker Compose automatically linked the two containers.

Backend:

Congratulations! You have deployed a functioning app with two containers using Docker Compose! Next, you should learn how to create volumes to store data and scale your application.